First and foremost I am thankful for anyone visiting the site and the blog. My intention is simply to share knowledge and what I have learned in furniture making and life. I’ll be posting more frequently about what I am currently doing, sharing prophetic ideas and life changing philosophy, …or not. I am a self taught furniture maker and designer, but this term is misleading in that I did not start down this path in a cave with nothing but my hands and thoughts. I learned for free by intentionally studying “how-to” content, looking at what other inspiring builders were making, the techniques they use to execute their designs, etc., and simply getting hands on with my own ideas. So in a sense I am well studied furniture maker using proven techniques and applying principles of sound design that have been around for centuries.
So the beautiful Shaker influenced bench with the back is finished, literally. I’m thinking I will be building a few of these in the near future in a softwood species or poplar, then painting them to provide a more cost effective piece and possibly add 3 pull out drawers beneath the seat for more functionality.
Now every blue moon or so I do come up with a technique or process I think is new or at least worth sharing again if it’s not. Most people who have a fair amount of knowledge of wood know hardwood species like oak, hickory, and ash have what is called an open-grain structure which gives the wood unique properties (steam bending ability is one primary example). This open grain presents us two choices to consider from strictly a finishing or refinishing perspective.
To fill the grain or not fill the grain?
I typically fill open grain woods prior to finishing where there is a horizontal surface such a seat, table top, etc., because it provides a smoother finish when that what I am shooting for but does not mute the facets and details from hand tools.
At any rate, a cheaper and way cooler alternative product for filling open grain wood is paint. The clear benefit is the ability paint gives us to contrast color, highlight grain, blend color, and other subtle physical surface textures.
The type of paint is debatable in my mind due to the fact that I have only used latex paint and enamel paint and this is still very much experimentation at this point. What I have learned is enamel scrapes with much better results than latex, but scraping enamel paint is difficult unless you like to torture yourself with mind numbing work that makes your fingers bleed. Latex scrapes off more easily but it does not look as good in my opinion. Most could not tell the difference honestly. The downside of all these possibilities is the additional step of scraping off the paint that you just applied.
Below I have boiled down the steps of the bench finishing to the basics and noted things I do and don’t do in order to achieve the results you see in photos. Thanks again for visiting and shalom.
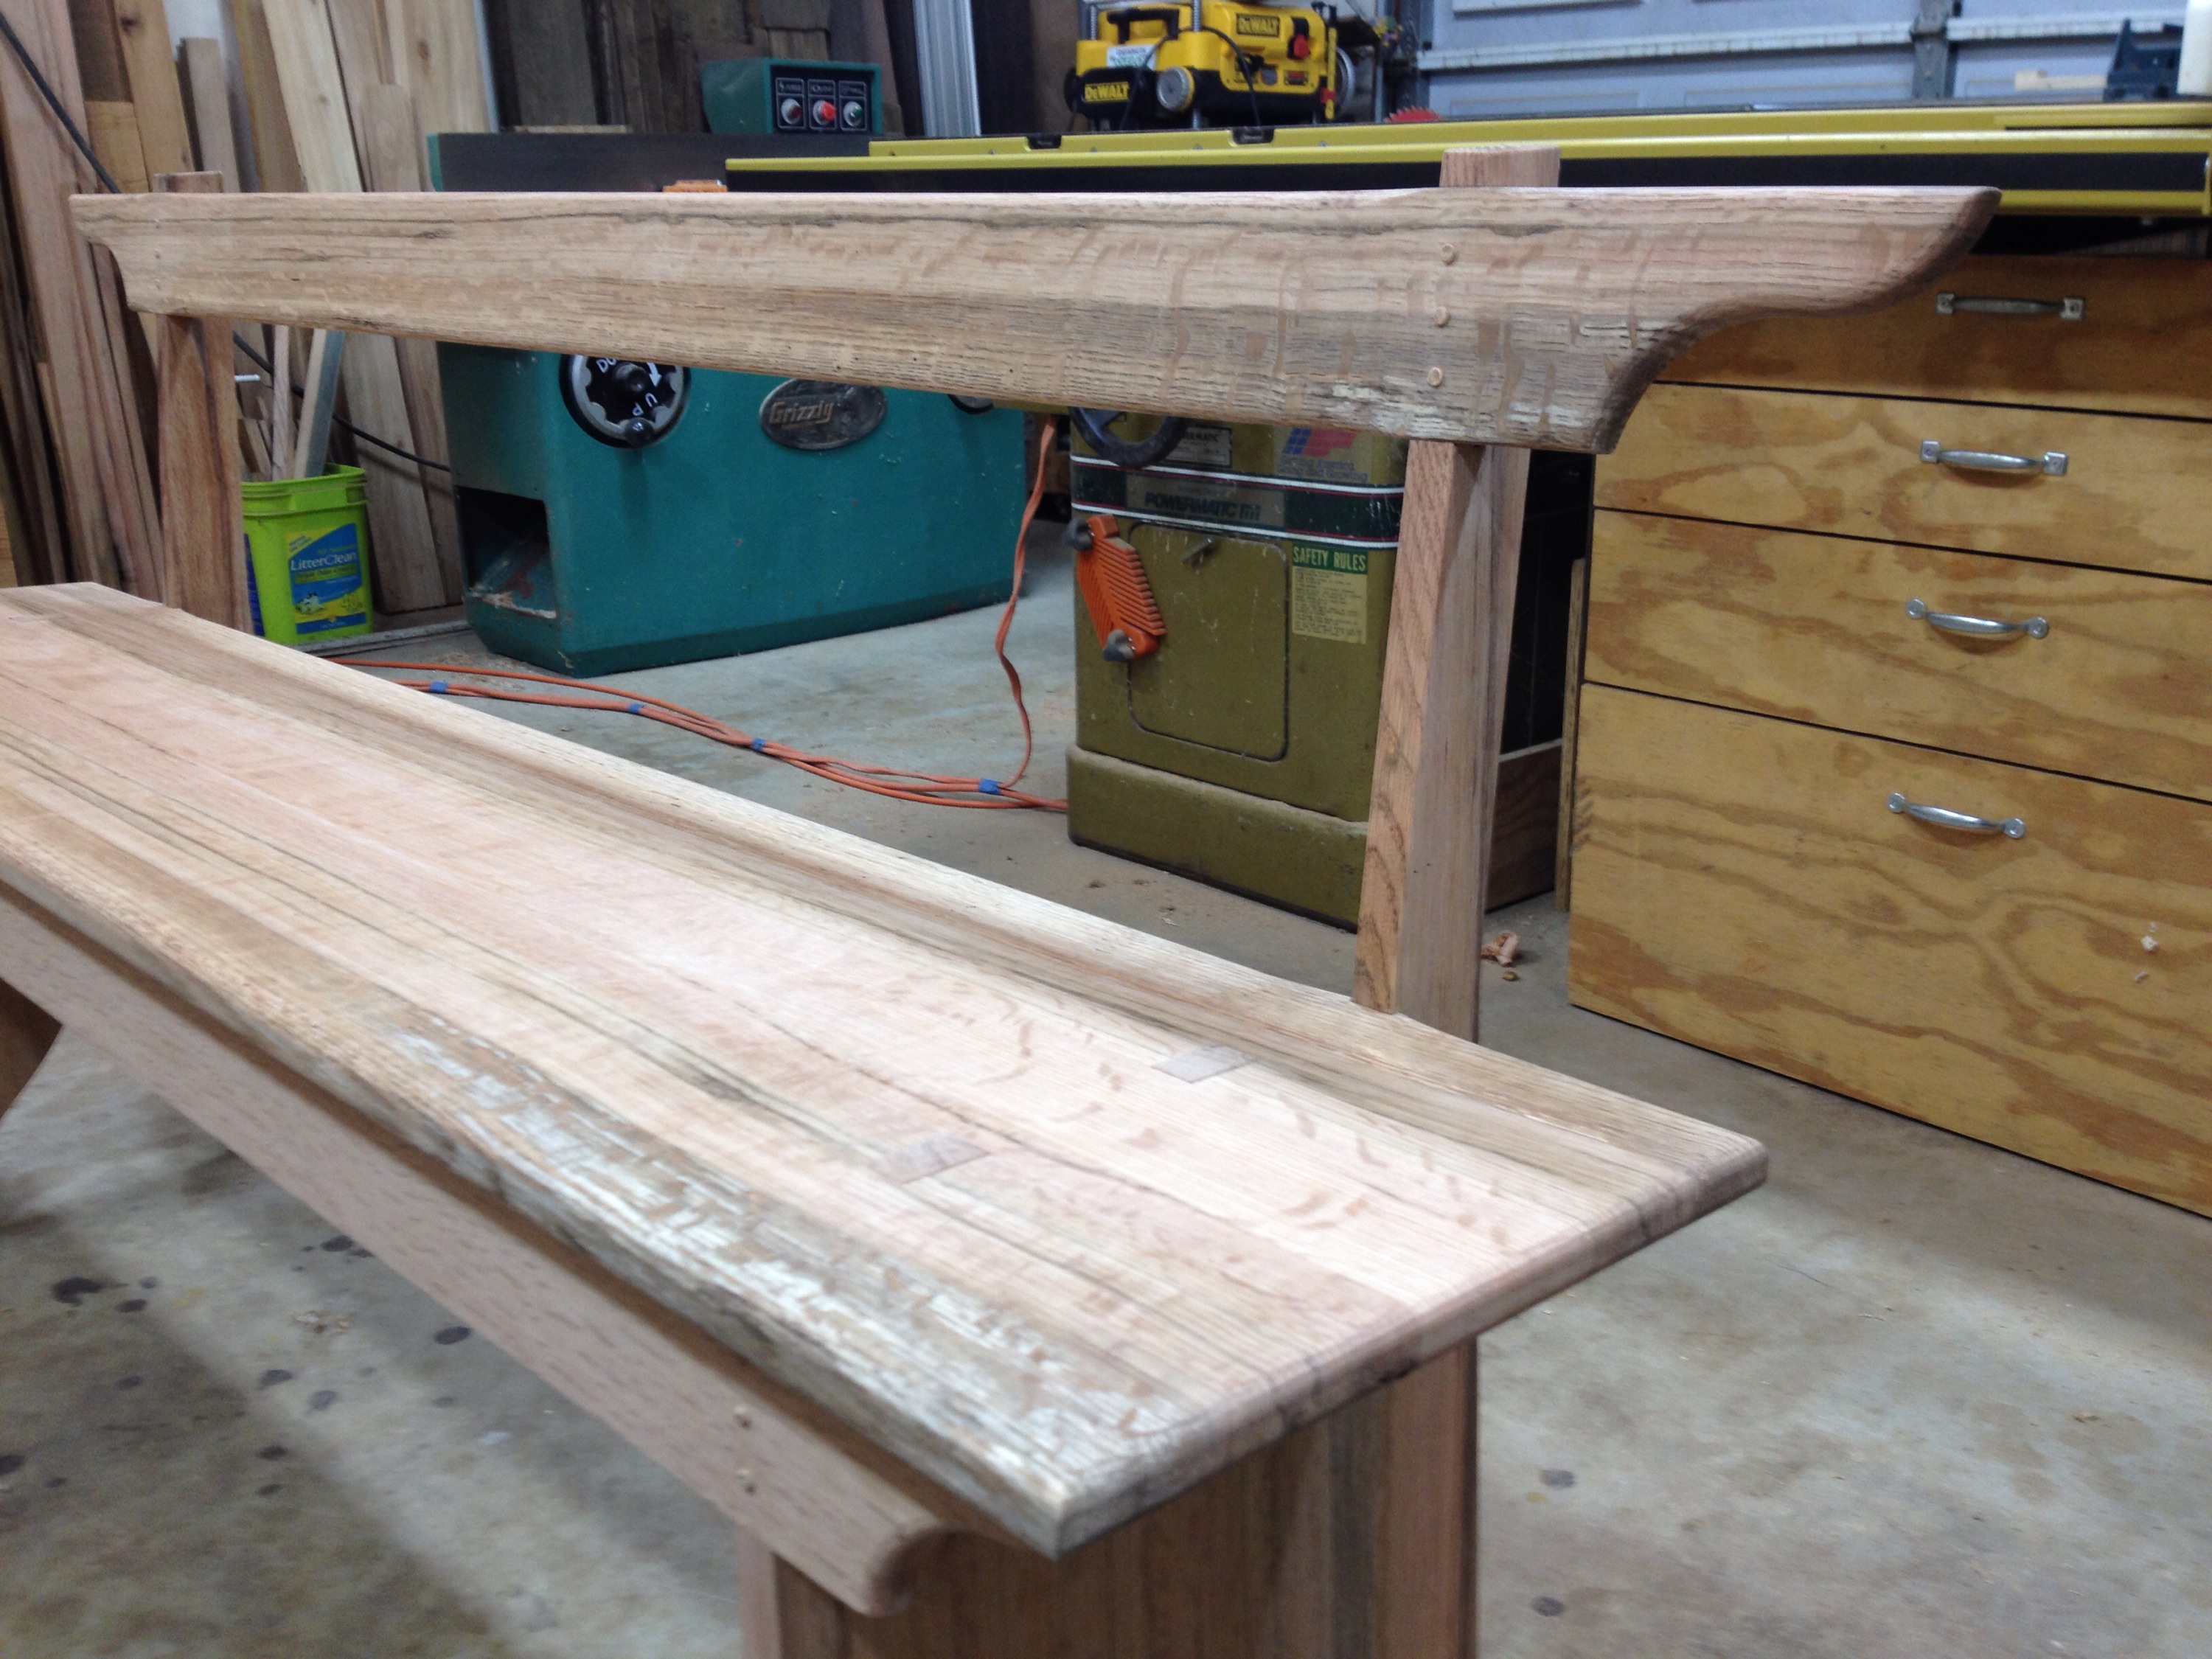
Step 1 – Start with a very clean surface! What this means to me is blowing the entire piece down with compressed air. At this point the surface should be free from machine cuts and rough sanded with 150 grit paper or scraped with the grain. Do not use a random orbit sander as tempting as it is, they leave tiny circular scratches no matter how good you are with a power tool those small circular scratches will get filled by the paint and required more scraping than you will ever want to do and a discerning eyes will pick this is up. Here is the bench prior to paint.

Step 2 – Prior to painting, please take some time to think about how the color will effect the piece. I typically do samples of two or three paint colors I am considering using off cuts from the project, prior to diving down the rabbit hole. The application of paint is best done by brushing on a heavy coat and really working it into the wood and then using a plastic squeegee to wipe the excess paint off the surface. Wiping the excess paint off will save you a lot of time and four letter expletives later.

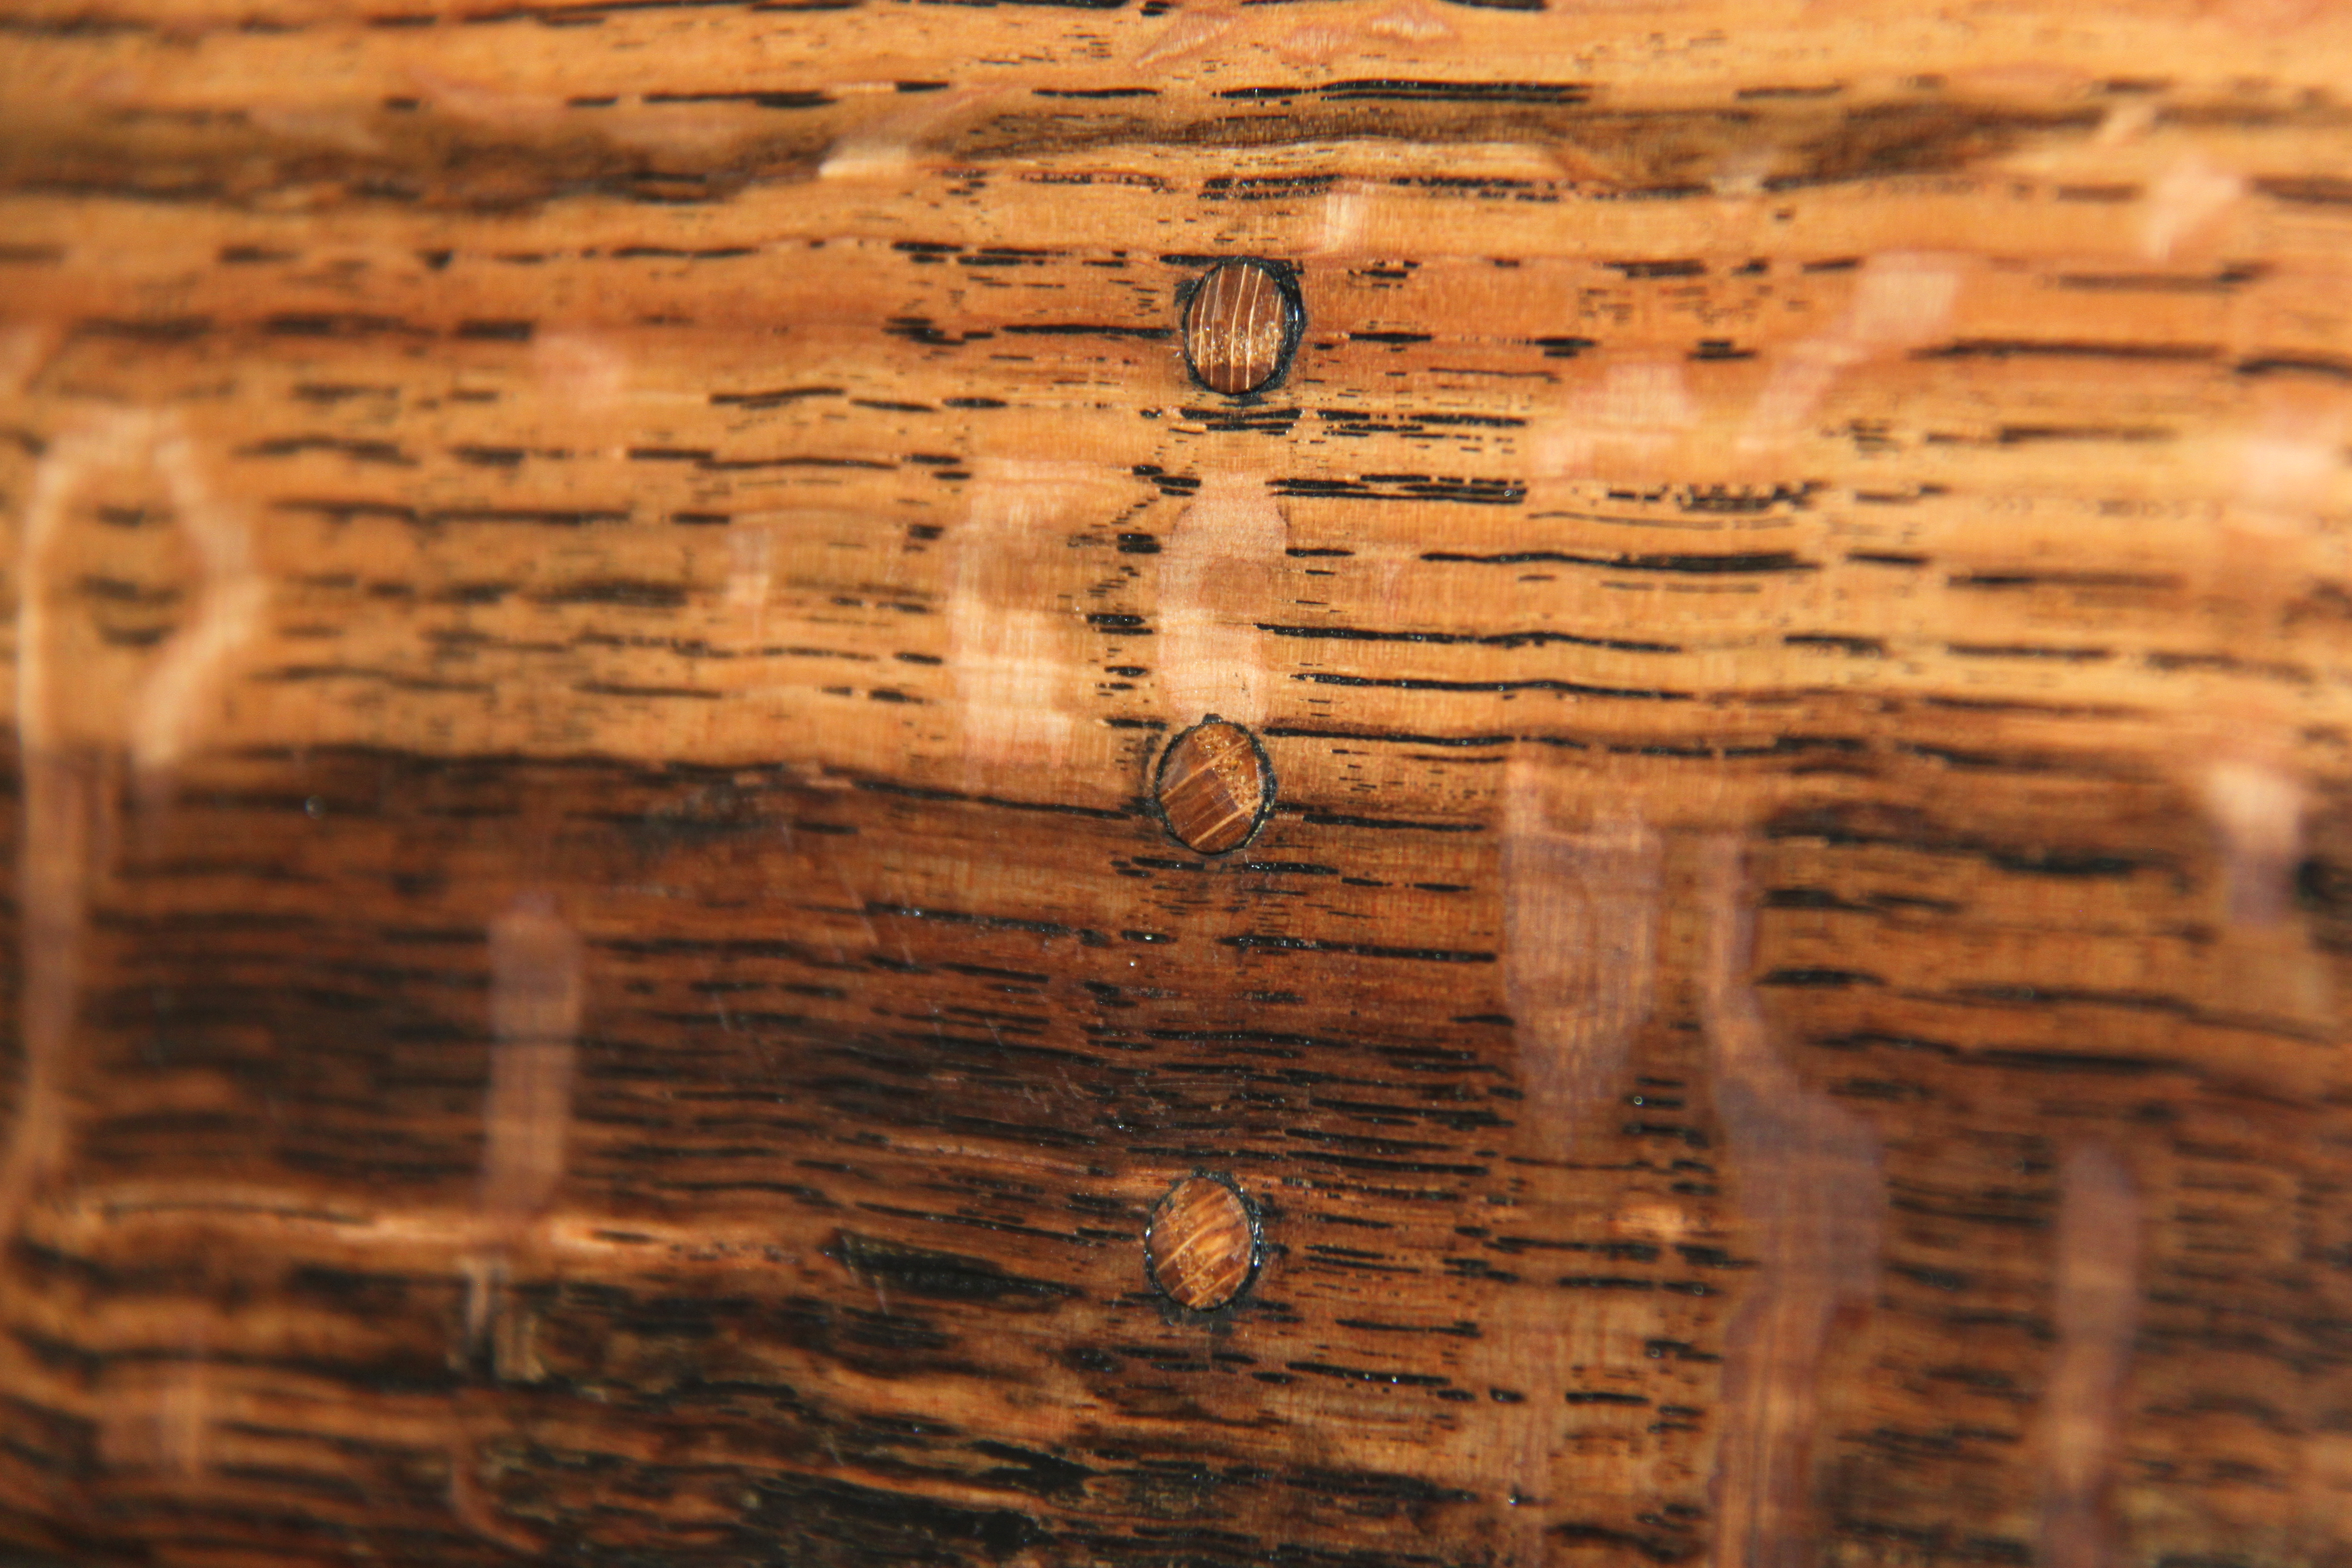
Step 3 – Once the piece is dry enough you just start scraping. This is the part where you think all hope is lost and why the *$&% did I paint this thing? No point in describing this process further other than I scrape with the grain using a card scraper and/or razor blades. I scraped the piece to a point where the flat grain of all the surfaces was clean enough that the black paint only remained in the open pores of the wood and in the corners giving a more aged appearance. This is the only close up shot of the surface after the paint was scraped off and prior to the application of the next step.
Step 4 – The next two steps are fairly simple. Apply a wipe on/wipe off stain. I blend my stains using commercial oil based products. I find this is the best way to get a color that works the best with the material used but does take more time, to again pull together samples.
Step 5 – The last step I perform is using a simple wipe on Watco Danish Oil finish according to mfg. reccomended application instructions.