It was on this day in 1992 that white South Africans voted for constitutional reforms that would give legal equality to black South Africans. 1992…Come on man! Its a great day to be an American.
As promised I’m continuing the natural leg coffee table build post. This post will focus on how I set up the drill press to bore the holes in the top for the legs, and sizing/fitting the legs. There are a couple of tricks I have picked up along the way that really help with the accuracy of the joinery that I want to share.
The featured image for this post represents where I left off. All the layout we need to proceed has been marked on the bottom of the top piece and the legs, Also, the legs have been cut to about 1″ longer than their final length.
Since the legs are already more or less round I choose to use a round mortise (the hole the leg will go in) and round tenon, and keep each tenon as large a diameter as possible for strength. I use a plastic circle template to determine the diameter that works best based on the legs I have and grab a forstner drill bit that matches the chosen diameter. In this case the diameter I am going with is 1 3/8″. I also mark the top of each leg using the circle template placing the circle roughly in the centered on the leg. I will cut the tenon down to this pencil line later.

Now the holes (mortises) have to be drilled into the bottom side of the top at the correct angle and to the correct depth. I built a very simple jig that clamps to the drill press table to assist with this operation. The jig is made of two pieces of plywood connected by two heavy duty hinges that I sized to fit on my drill press table. To set it to any desired angle I place a dowel between the two pieces of jig and it holds it’s position. I draw a line across the jig, roughly in the center, this line allows me to line up the resultant angles that I marked on the top.
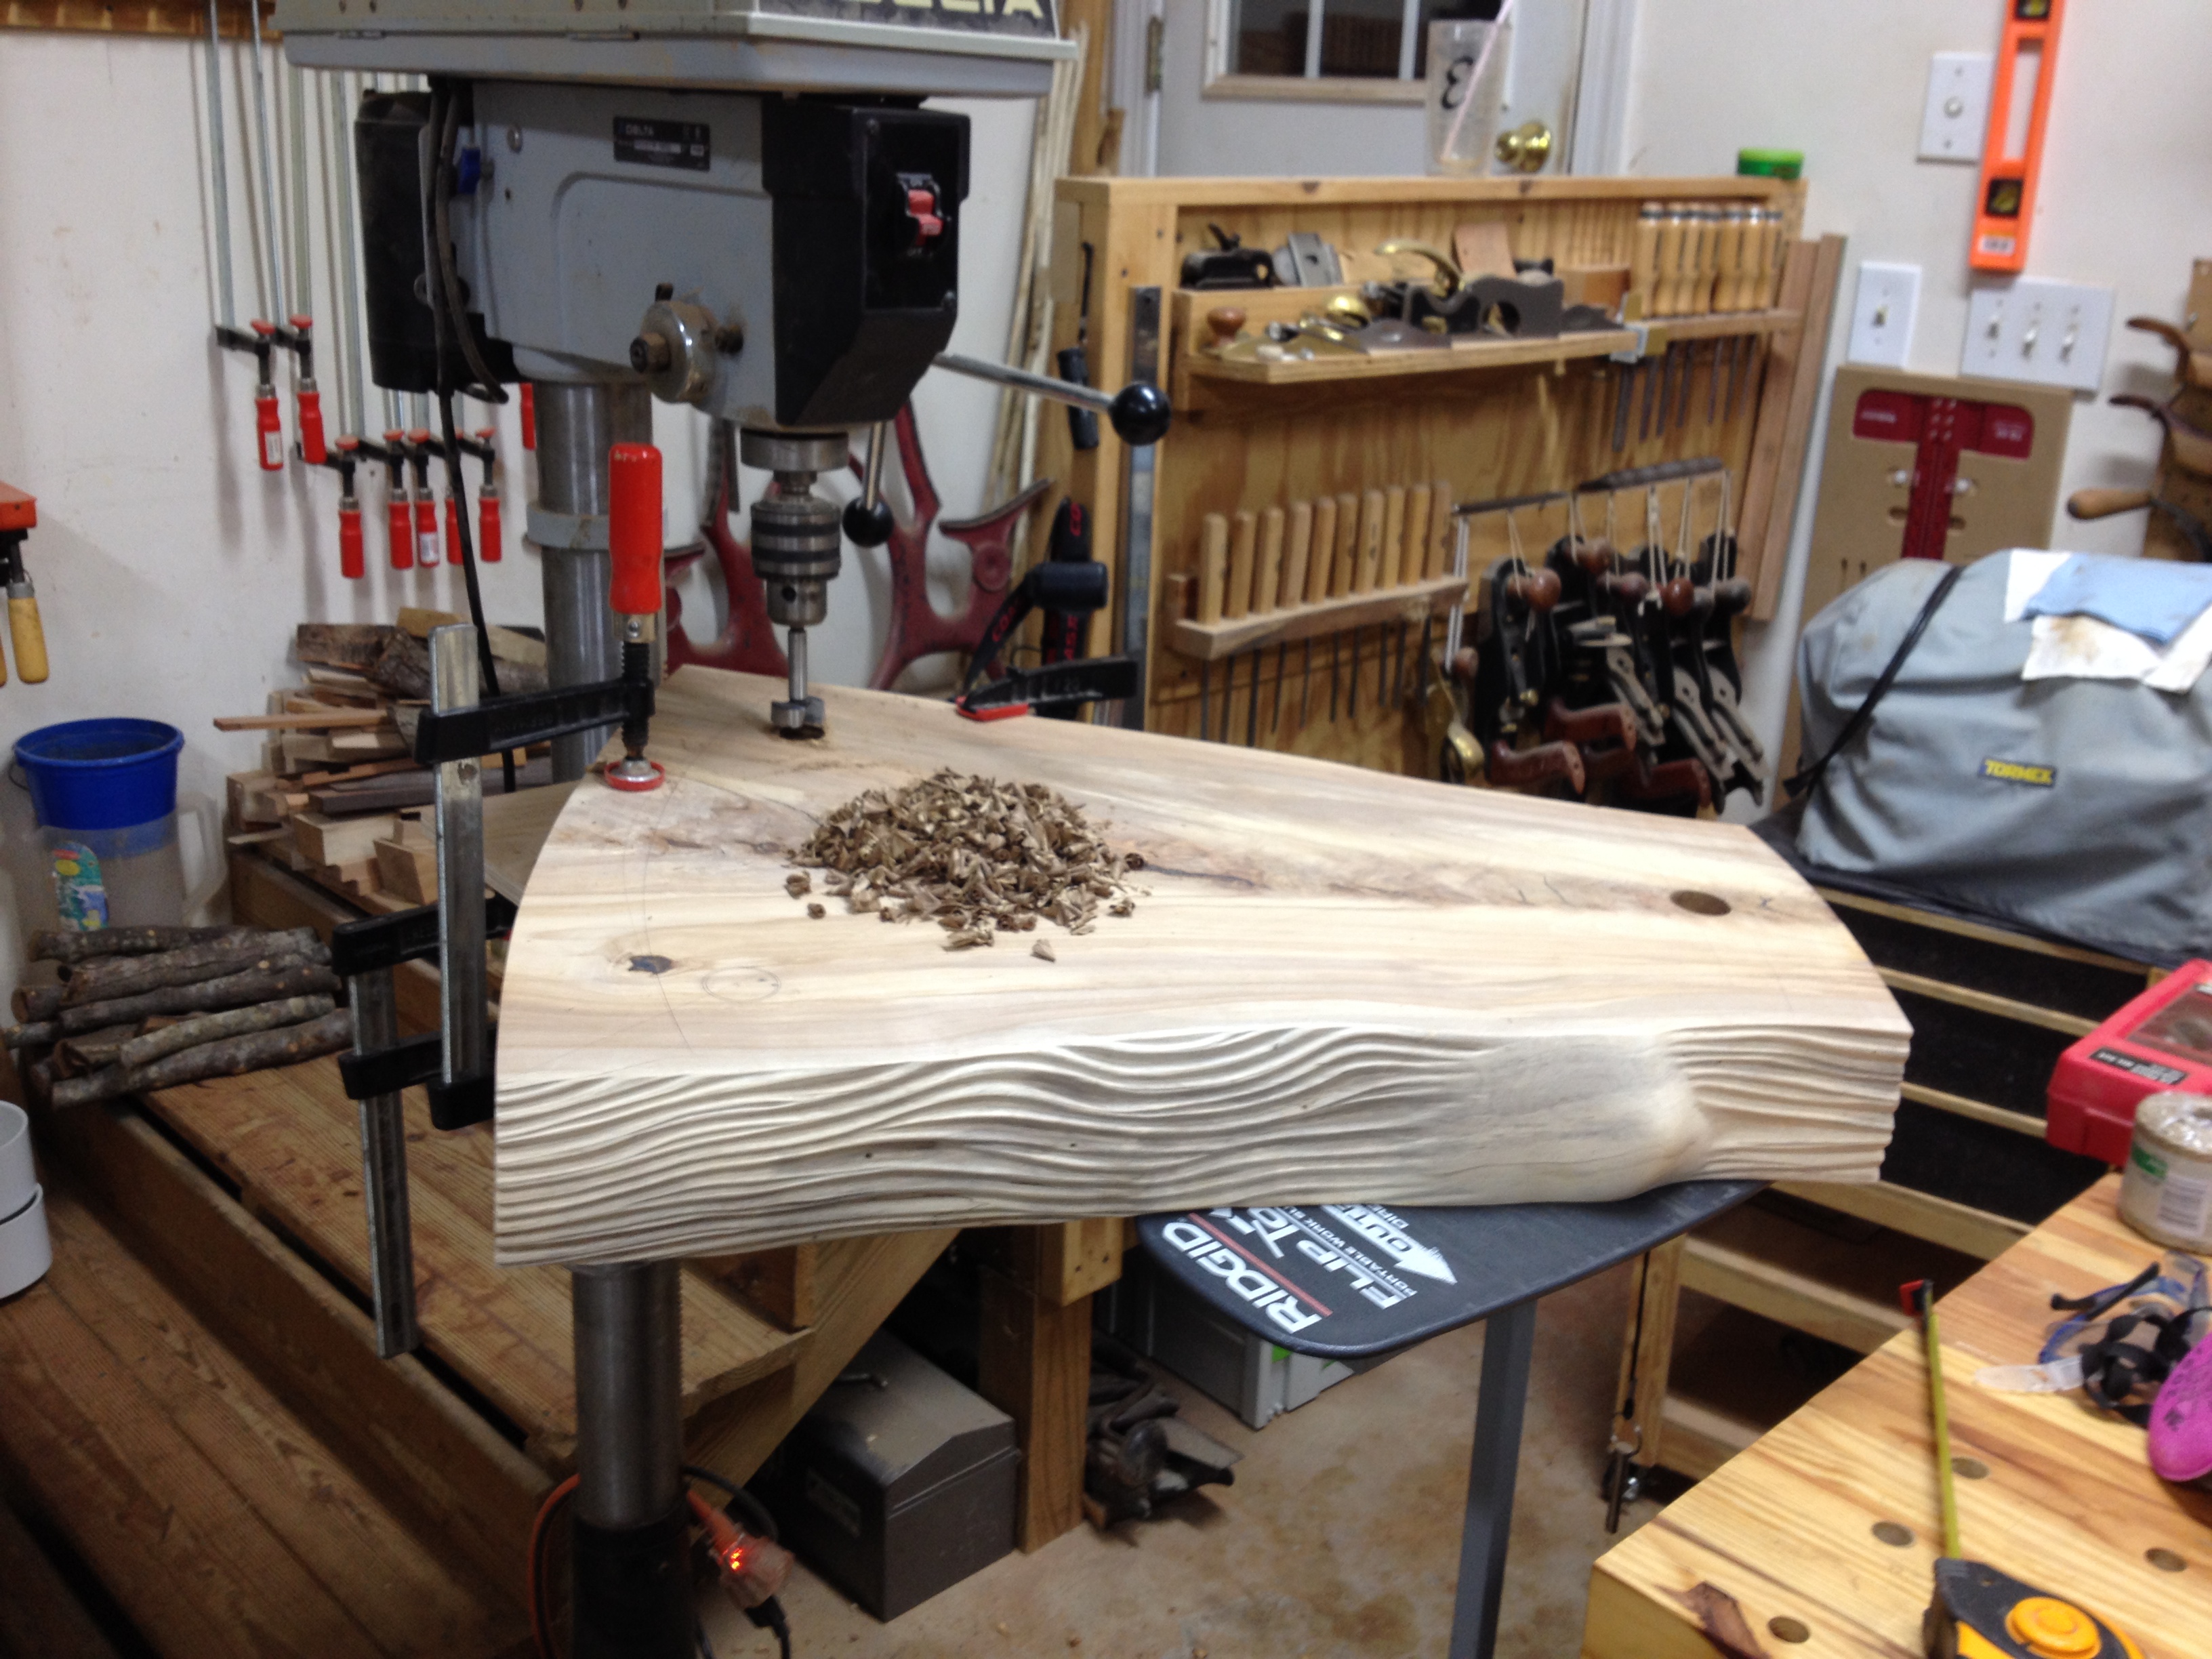
Line up the centerline on the jig with the centerline of the drill press table and clamp it down. Then tilt the jig to match the angle of the legs we setup on the bevel gauge.

Once the angle is set as shown in the above photo, I place the piece I want to drill on the platform, line up the resultant angle line on the workpiece with the centerline on the jig and align the center point of my drill bit to the mark that shows the center point of the leg (which was also marked out on the workpiece in the previous post), then drill to the desired depth. In this case the hole I drilled is 2 1/4 inches deep. This is a little difficult to

Now that all three holes have been drilled, I cut and fit the legs into each hole. Since the legs are irregular in shape it’s not possible to turn them on a lathe. You could use a tenon cutter like those used for log cabin style furniture but I don’t like the long highly visible taper that they leave on the leg, they are only available in a few sizes, and they are expensive. I cut my tenons using a draw knife and files. I like to leave a square shoulder so then the tenon is inserted into the leg it sits flush with the bottom surface.
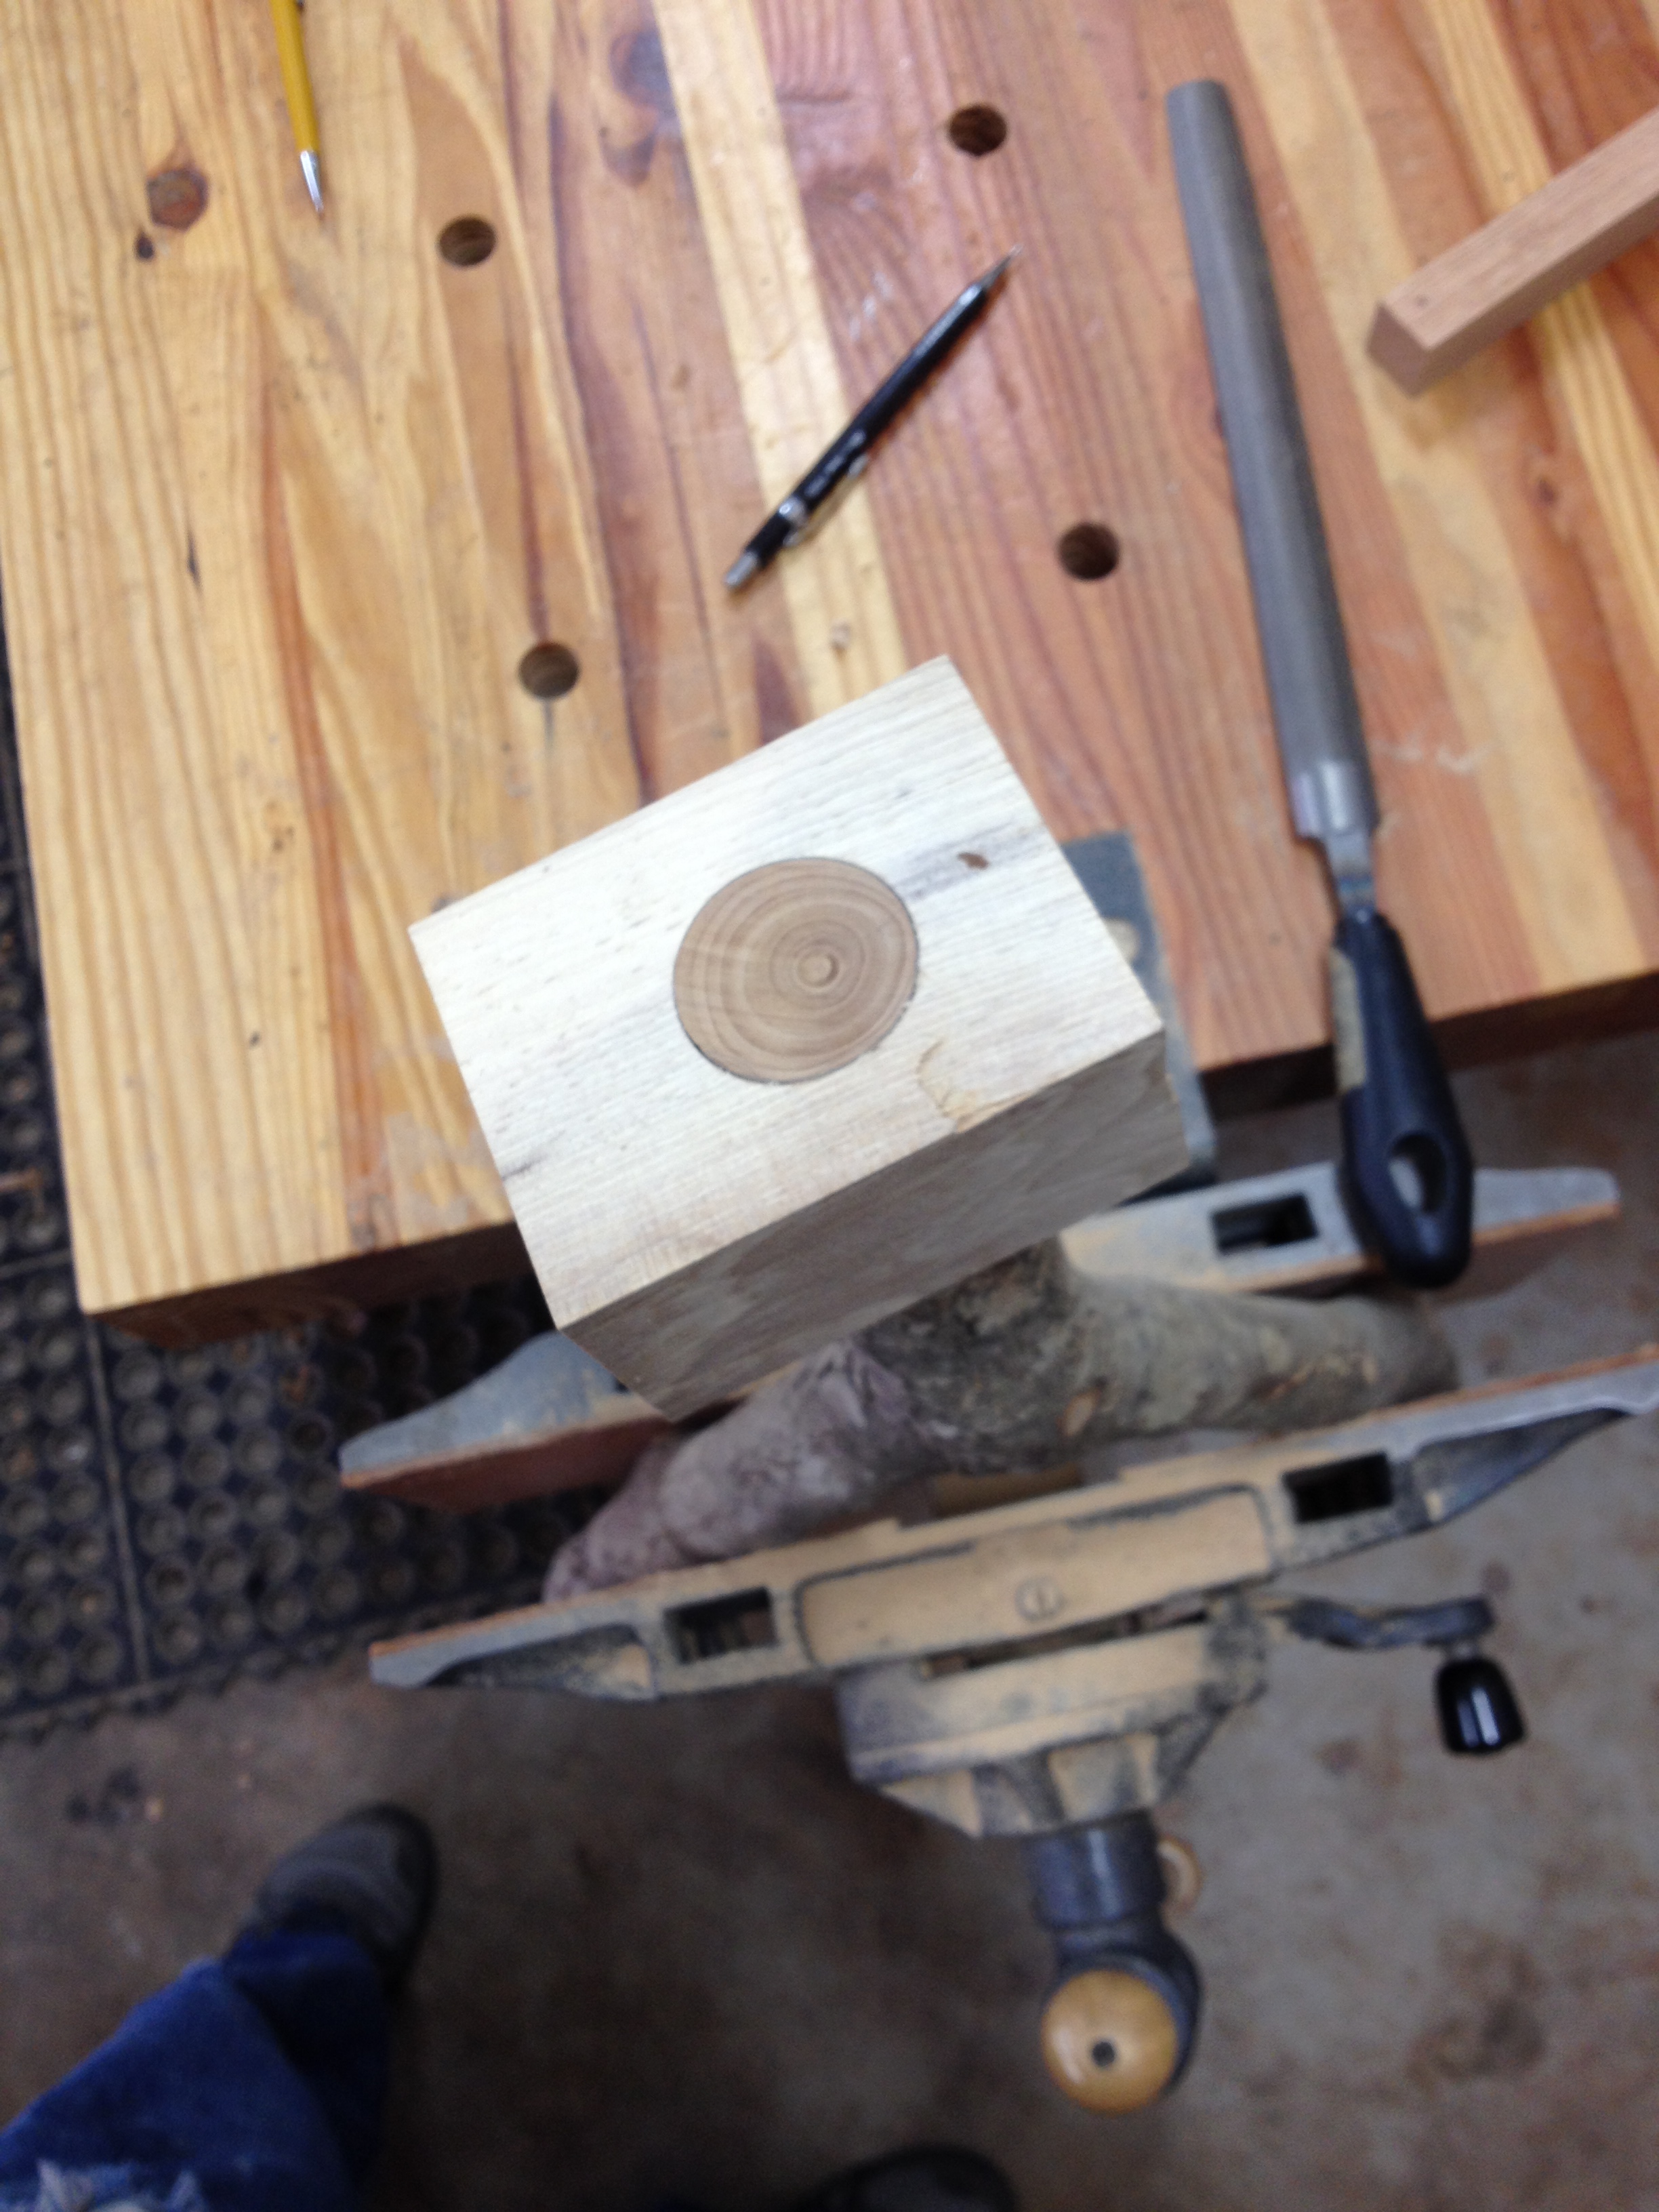
So there is not a lot going on here other than I cut down as close to the circle I marked on the top of the legs with the draw knife without going over the line. I mark the length of the tenon on the end of the leg so I don’t cut the past where I want to go. Once i get close to the circle I laid out on the end of the leg I start checking the fit of the tenon using a piece of wood with a hold drilled in it the same diameter as the holes in the top piece. I can easily and continually check my progress using this block. This takes quite a bit of time to get the last bit of material filed off and the legs all fit well….so be patient. The photo below represent what I’m talking about I hope.
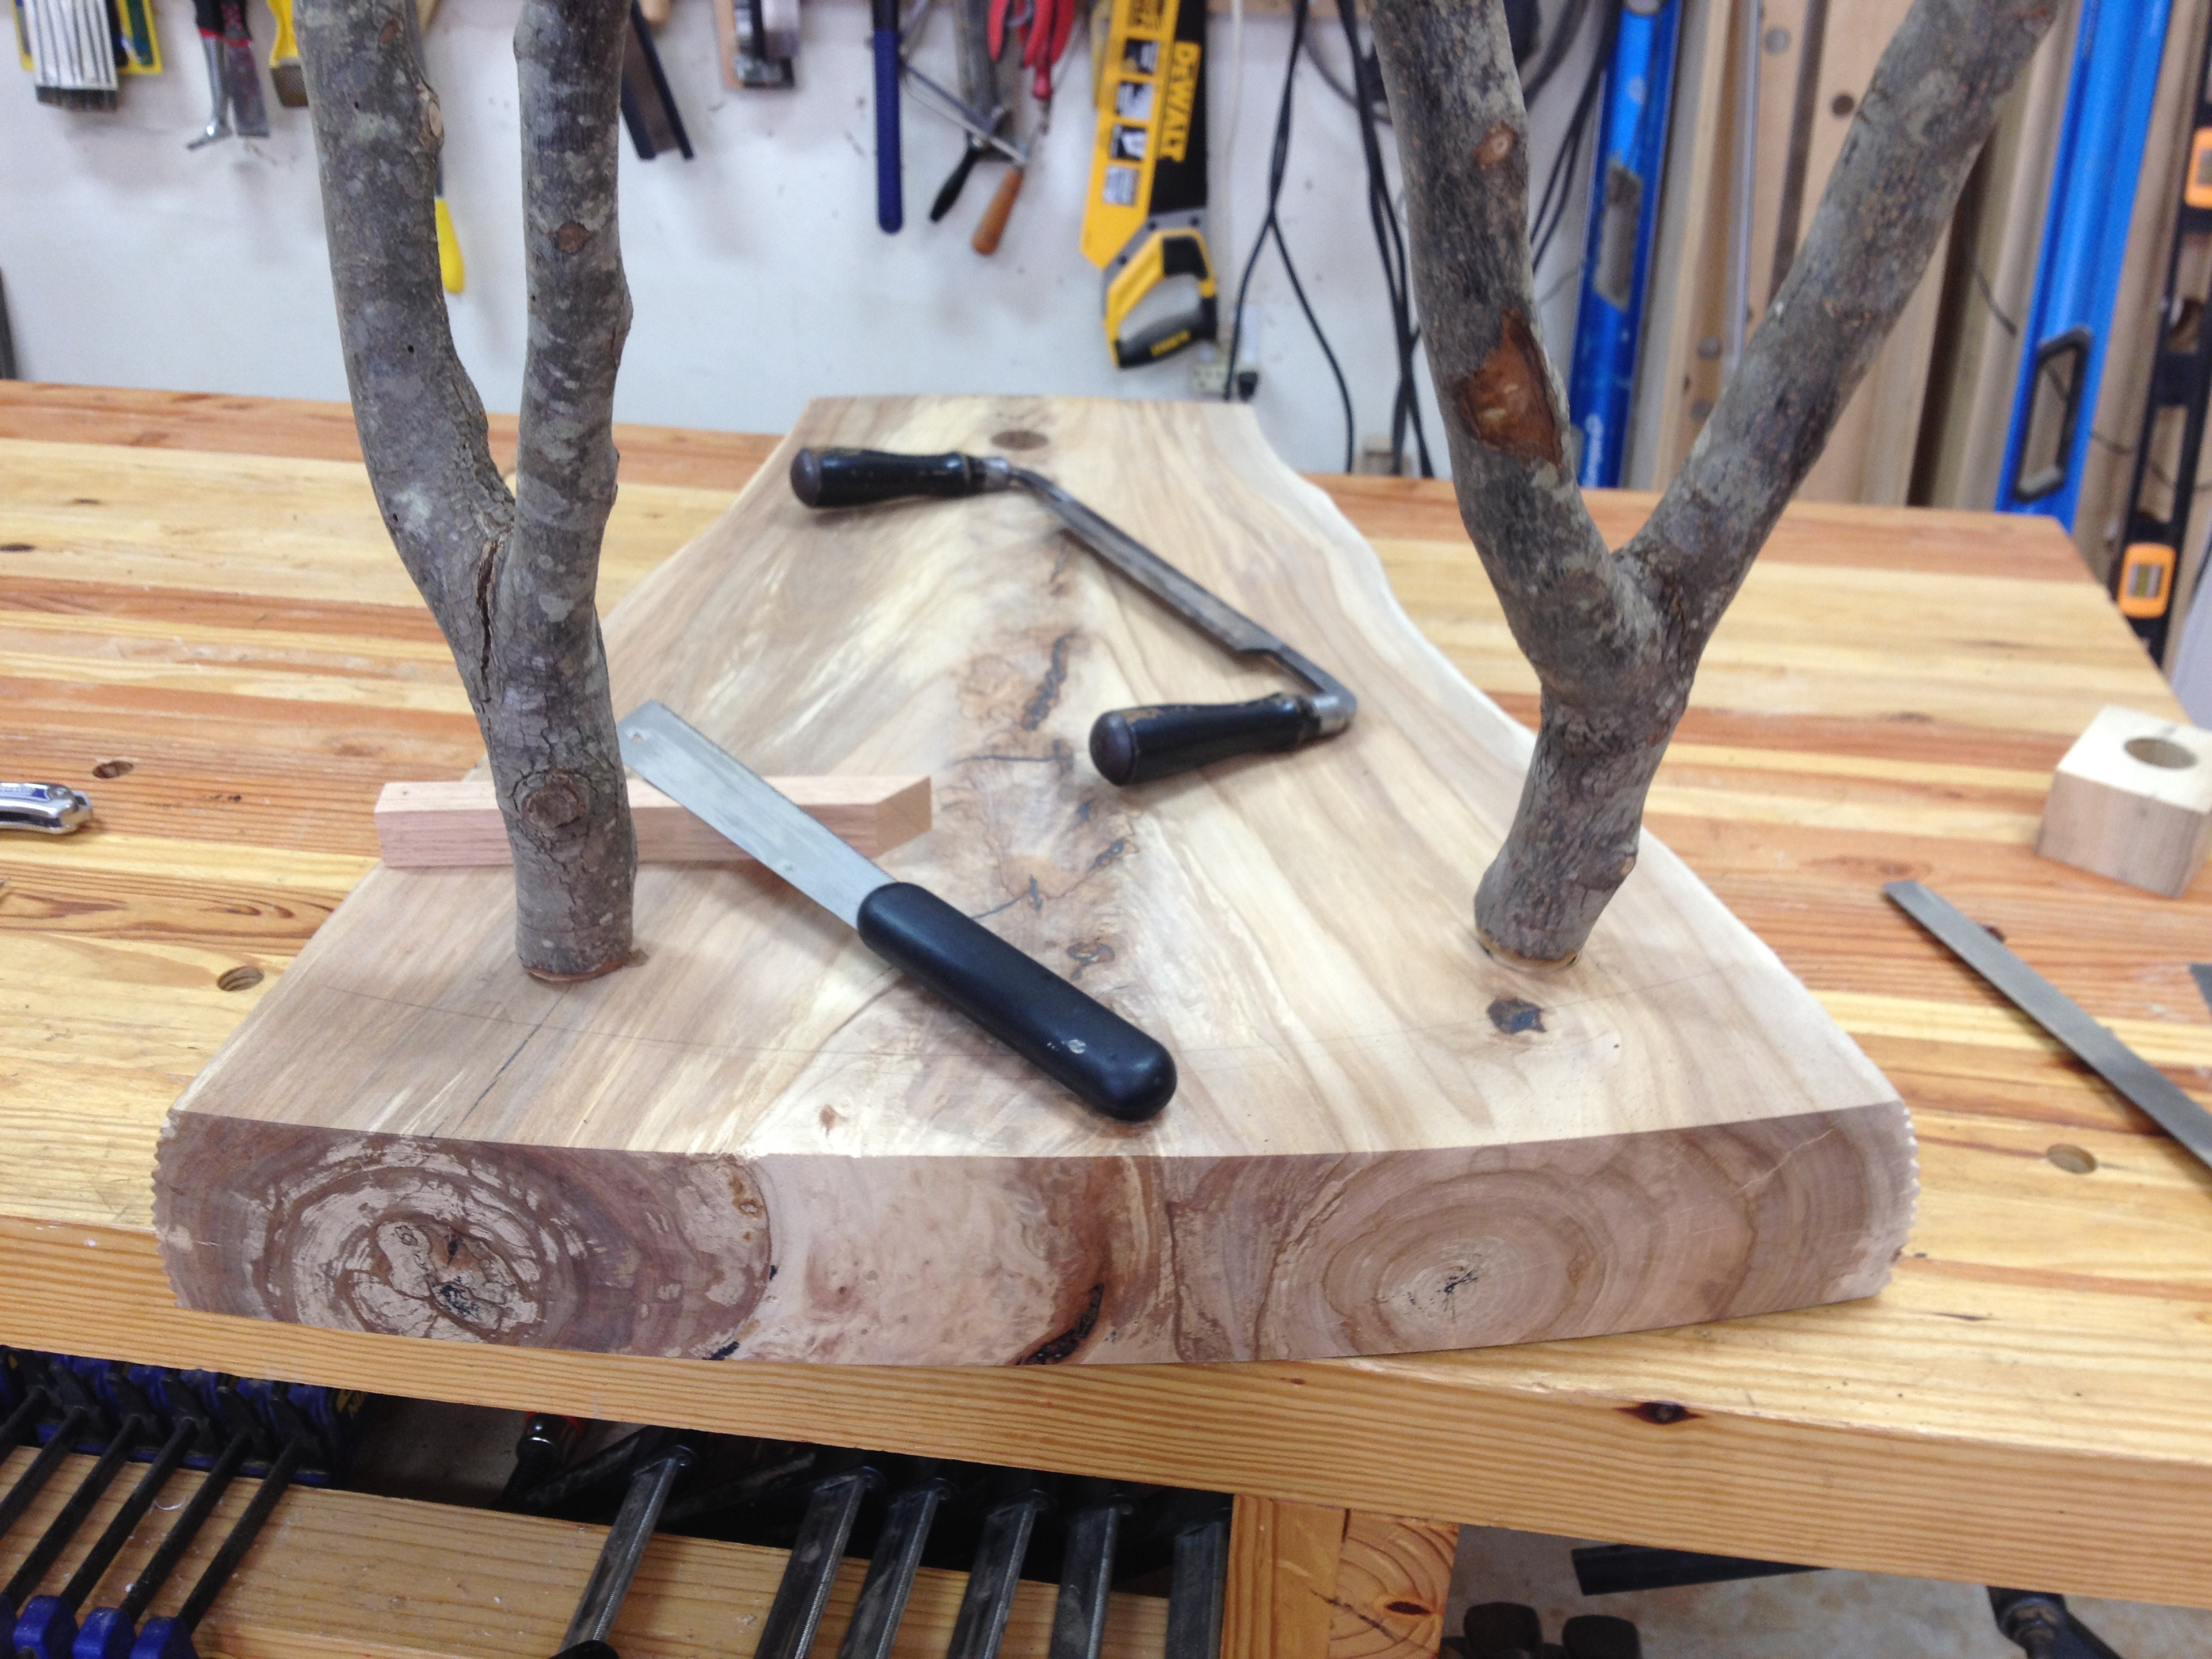
Once the fit of all the legs into the test block is good I insert them into to top as determined by the markings I made earlier. I labeled the legs 1, 2, and 3. So at this point I still have legs that have a rounded over shoulder. What I want are legs where the shoulder of the tenon on each leg will sit flush with the top when the tenon is inserted. The photo below shows how the round tenon at the top has a rounded over shoulder where it goes from wood to the outer bark layer.

To cut this shoulder square so that when the leg is inserted into the top it sits flush, first insert the leg in the correct hole and turn the leg to the alignment marks made during the previous post. The leg will not go all the way into the hole because of the rounded over material that still has to be removed.
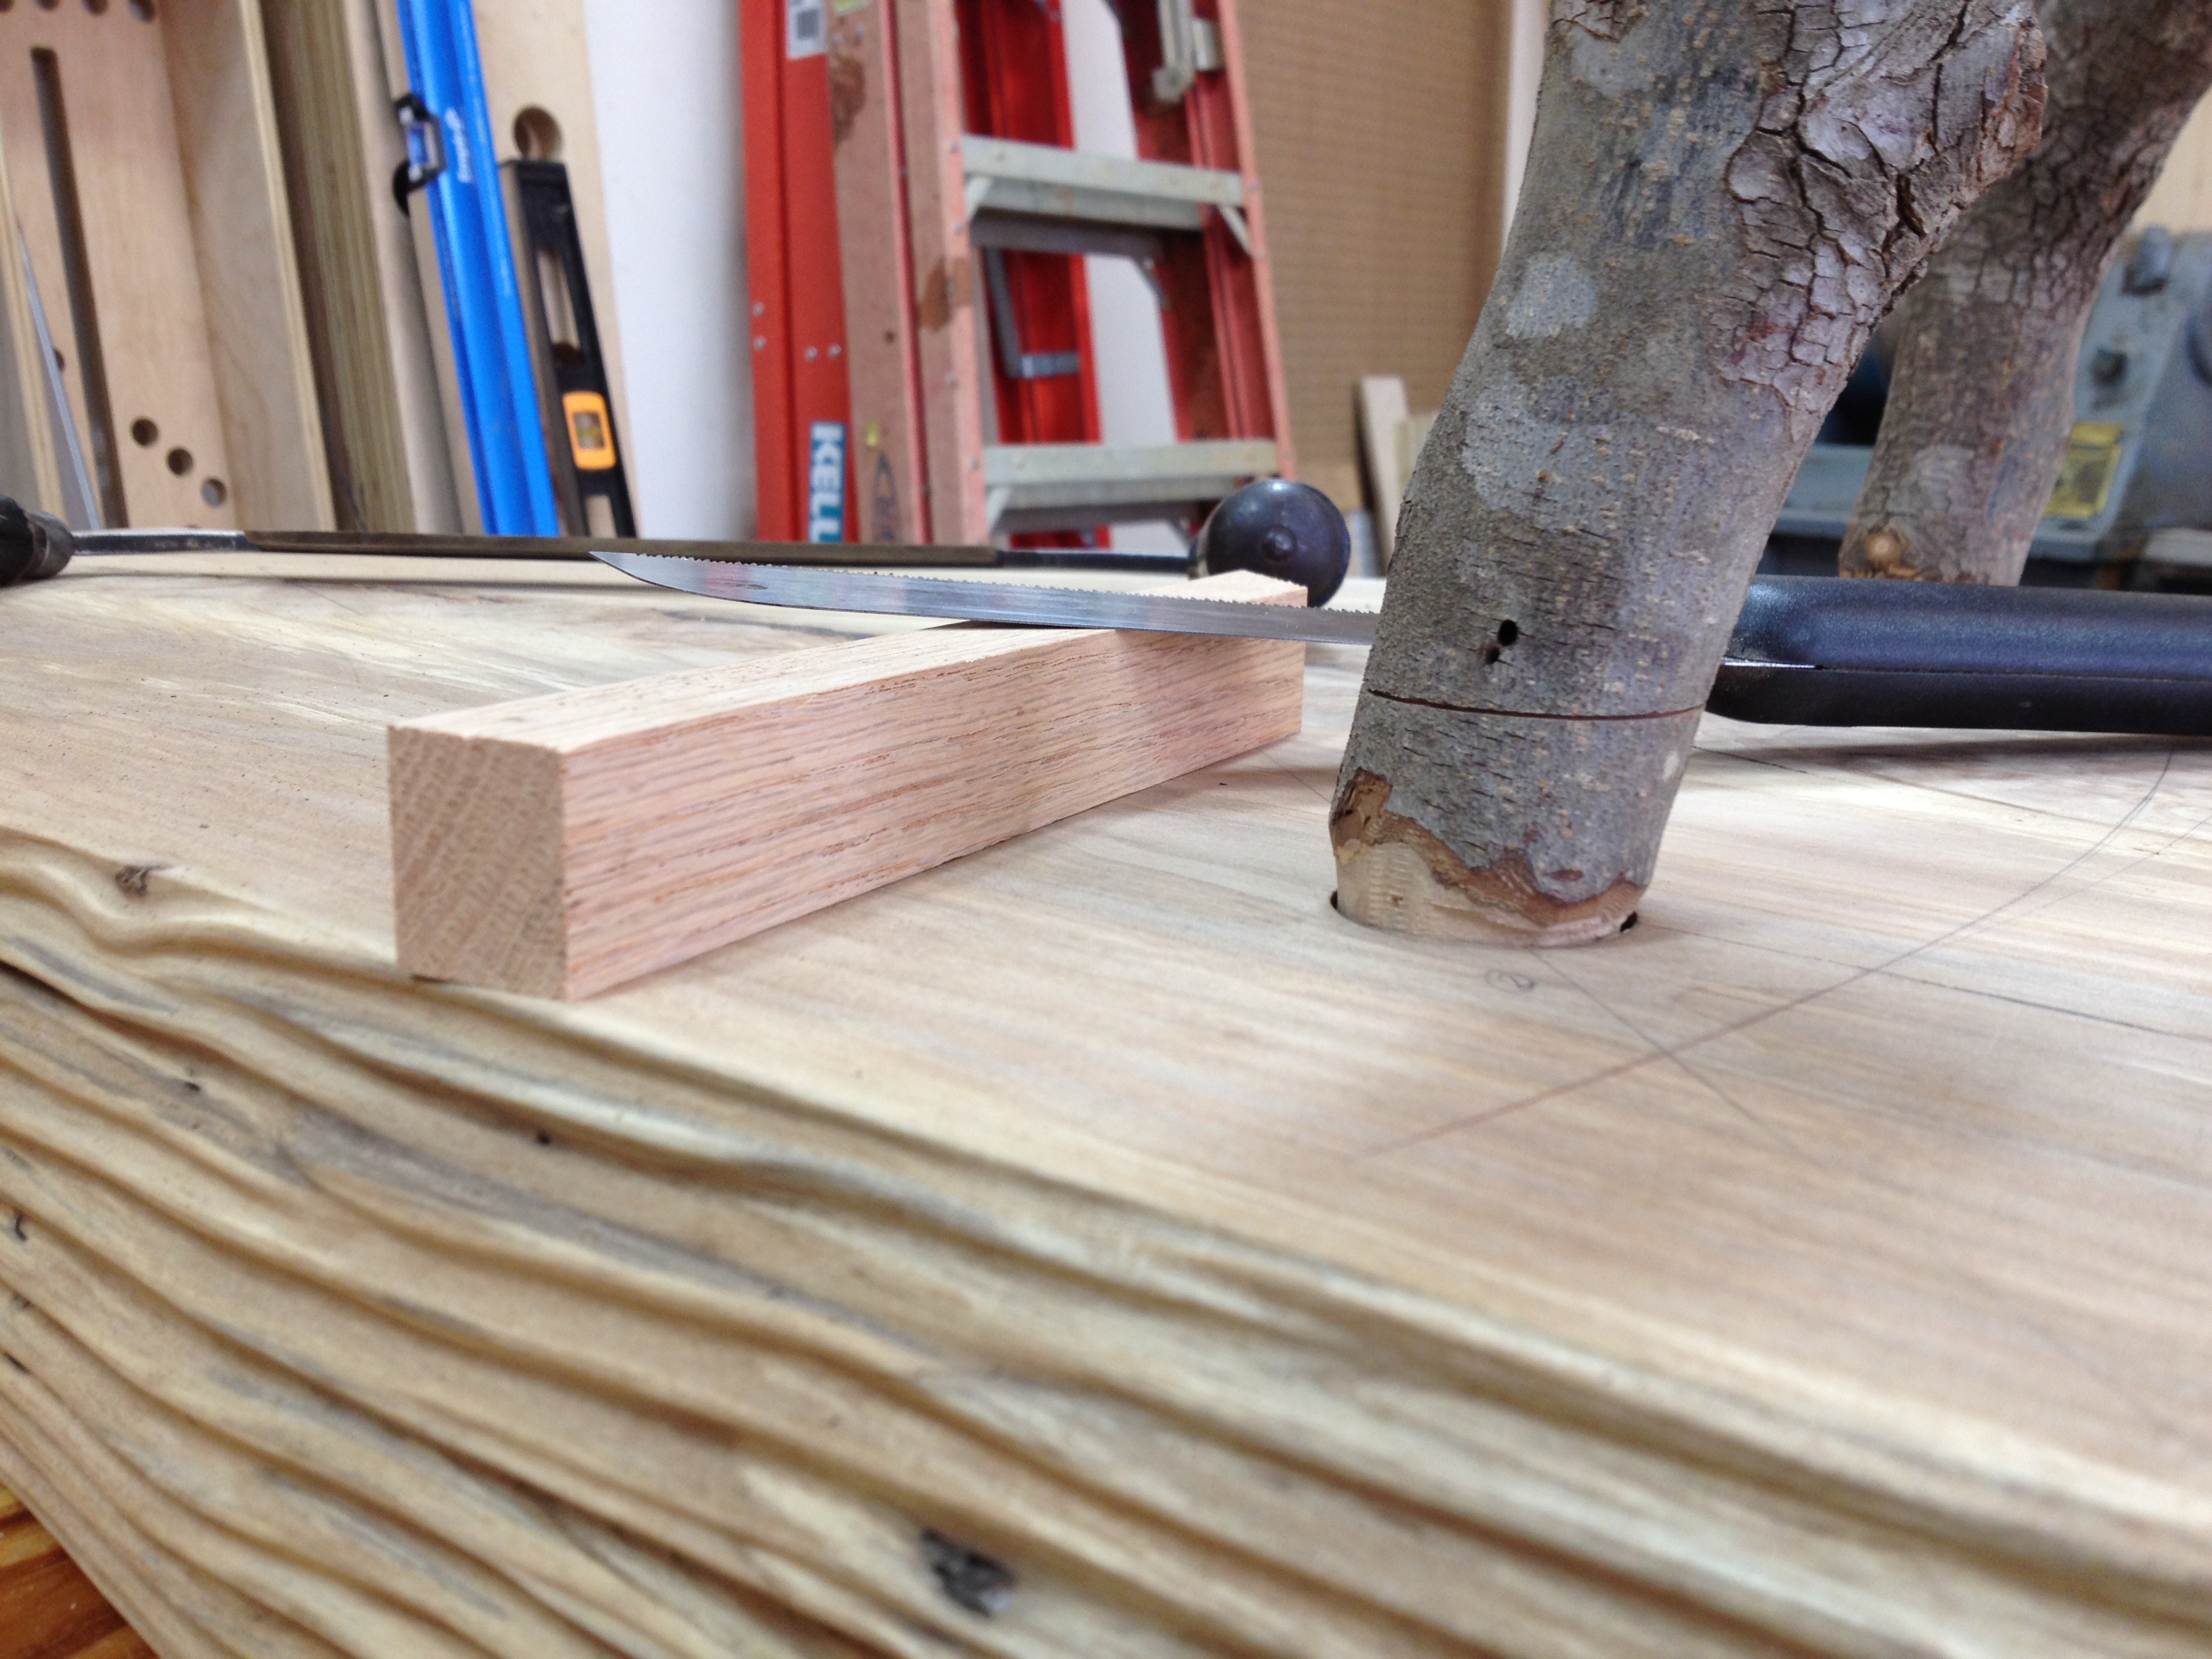
The photos below show what I’m about to explain but I just take a block of wood and use flush-cut type handsaw to saw a light line all the way around each leg while it’s inserted into it’s respective hole. This method ensures that shoulder line where I cut around the leg will be parrallel to the surface of the top piece. Once these shoulder lines are sawn all the way around each leg I go back to removing the material down to the diameter of the tenon. At this point your tenon will likely be a little bit long so I always go back and make a final cut on the end so it does not bottom out when I inset the legs.

At this point I have good fitting legs ready to glue into the top. My next post will focus on the woven shelf I am working on and the finishing process for this table. I like a close to the wood finish personally but since this is a coffee table I am going to be using an oil and poly combination. Thanks for reading and shalom.

thank you for sharing your process. I’m a beginner woodworker and my project was along these lines in figuring out how to square a round timber using a branch. I had gotten some resistance from a few TAs at school regarding point of reference to square the branch…I had surf the internet desperately looking for ideas to accomplish my goal. I found your post and it help tremendously. Please keep the technical part up, its not boring. Its saved me and returned the inspiration of working with wood. Kudos, yellowgypsy
LikeLike